September 18th, 2009 . Posted in Mealworms | Comments Off
Tags: Mealworms
Things haven’t been going so well for the mealworms recently. I changed the substrate a couple of weeks ago, and everything was fine for a while, but one day I came home and most of the mealworms were lying on the top of the substrate. I had no clue as to why this was happening, and moved them into a new tub with new substrate. I picked out all of the dead ones and left them to see if they would recover.
I checked on them every day, and more of them have died each day. I think the reason that they have been dying is that the substrate was too moist. I have since left the lid off, and have been putting vegetables in for moisture instead of soggy kitchen roll.
After I came back from my holiday I had a look in their container and I must admit I was expecting the lot of them to be dead. When I had a look I instantly noticed a few empty skins on the top of the container so some of them have survived. In amongst the bran and the dead mealworms I managed to find at least 3 live ones and they are getting quite large now. Hopefully these 3 will survive so that I can breed a new batch. Next time I will make sure that I don’t allow them to get too soggy!
August 27th, 2009 . Posted in Mealworms | 1 Comment »
Tags: Mealworms, moldy

The substrate was very moldy!
As you can see the substrate was really moldy when I took this photo, so I decided it was probably time to try and separate the mealworms from the moldy substrate and give them some fresh food. It took ages to sift through all of the moldy oat bran and pick out the larvae – I know at least two of the worms ended up in the bin. What made matters worse was that the spores from the mold were tickling my throat. The mold itself is white, so all of the blue in the above picture is spores!
Anyway, after about an hour I finally managed to remove most of moldy substrate and put the mealworms in a smaller container with some fresh bran. I couldn’t remove all of it so the mixture will probably go moldy again, but as I used less substrate it should be easier to change next time. I also decided to use some pieces of potato peel for moisture instead of the soggy bit of kitchen roll.
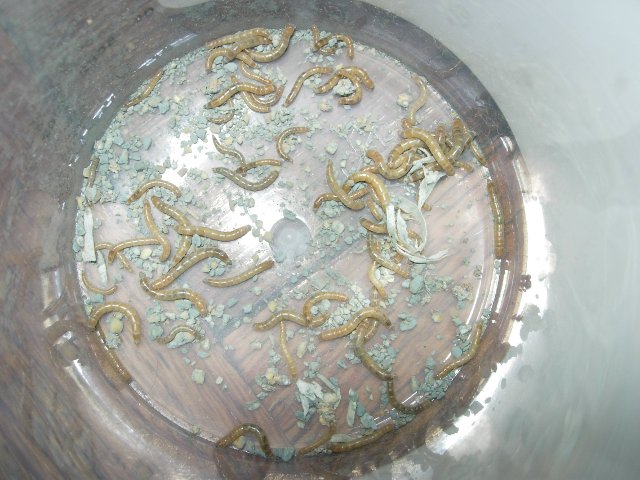
I managed to remove most of the moldy substrate
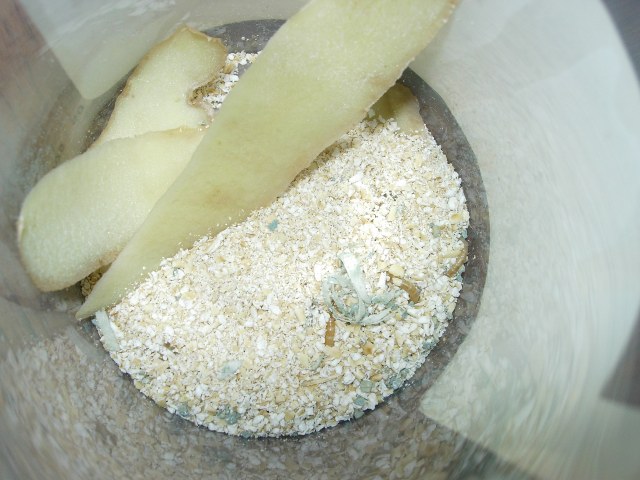
The mealworms are now in a smaller container with less substrate, and a piece of potato peel for moisture
August 16th, 2009 . Posted in Mealworms | 1 Comment »
Tags: Mealworms
When I checked on the mealworms today I noticed that there was a lot of mould in their containers. The container that the babies are in has always had a bit of blue-green mold, but there was only a small amount before. Today, the amount of mold has increased significantly. In the adult beetle’s container there was a lot of orange mold covering the substrate. It has grown a lot quicker than the other container and I think this may be because I have been sealing the lid and it has been too damp inside the container.
I decided to remove all of the substrate from the beetle’s container and give it a good clean as I was not sure whether the mold was harmful or not. It was easy to move the beetle into a spare container whilst I did this – I just encouraged it to walk onto a stick and then moved it into the other container. I then cleaned the container with washing up liquid, and replaced the bran in the bottom. To prevent the mold problem in the future I cut a large hole in the lid and glued some net curtain over it. This should provide better ventilation and stop the beetle from escaping.
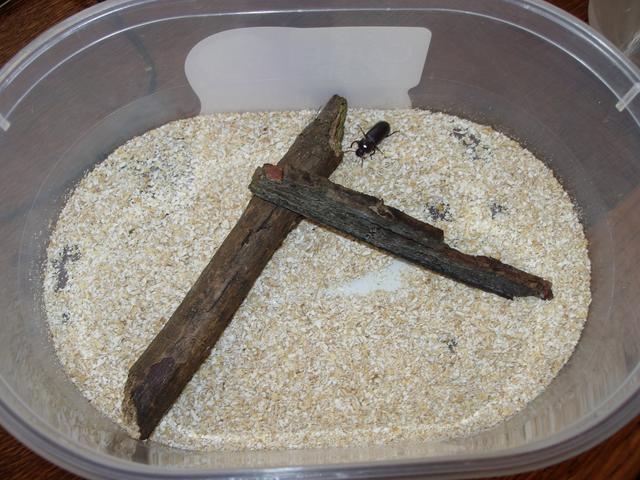
I cleaned out the beetle's enclosure, and put a lot less subrate in this time.
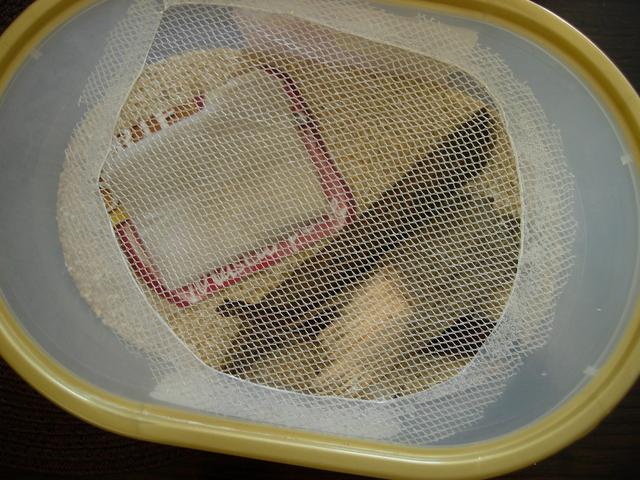
I made a mesh lid out of net curtain to provide better ventilation.
Previously I had been leaving the soggy tissue on a piece of cardboard. The problem with this is that the water eventually soaks through the card and makes the bran a bit soggy which may have contributed to the mold problem. This time I used the piece of plastic that I cut out of the lid to act as a barrier between the tissue and the bran – hopefully this will also help.
In the other tank the larvae are starting to get a lot bigger now – big enough to take a few baby pictures. Enjoy!
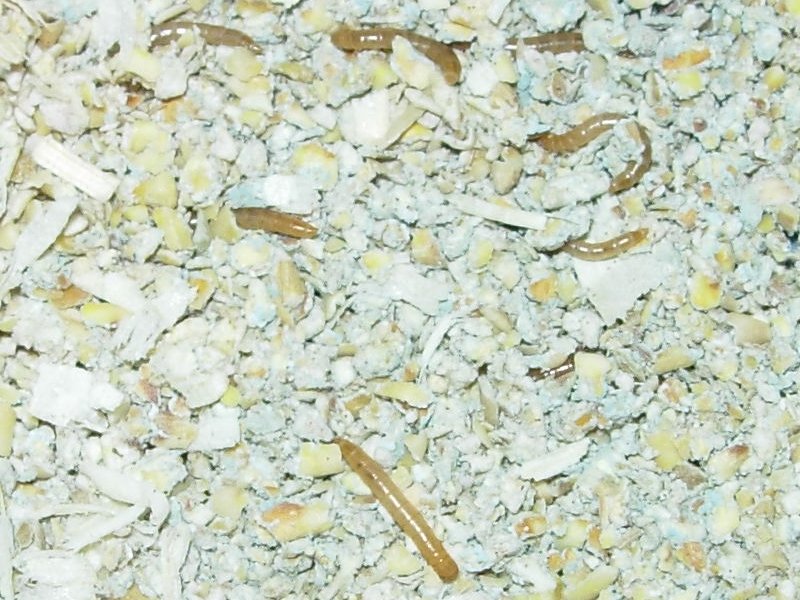
As promised: Baby pictures!

This little guy is about 1.5cm long (just over half an inch)
August 7th, 2009 . Posted in Mealworms | Comments Off
Tags: Mealworms
Just a short post today – this morning my girlfriend came down stairs and trod on one of the mealworm beetles that escaped. It wasn’t dead so I put it in the enclosure and put the lid on tightly! Now I just have to find the other 3…
August 6th, 2009 . Posted in Mealworms | Comments Off
Tags: Mealworms
I just went to change the mealworms’ water, and all of the adult beetles have escaped! I don’t know how that happened – the lid was balanced on top with a gap around the top for air. I wonder if the new tub is made of a different material that they can climb up.
Looking on the bright side, at least they produced offspring before escaping. I will probably raise all of the larvae to adulthood in this batch so that I can produce a good breeding colony, and then start feeding the next generation to the chickens. Now I need to make a better tank for the adults…


