May 12th, 2009 . Posted in Chickens | 1 Comment »
Tags: Chickens, coop, cracked, eggs, fence, nest box, netting
The Good News
Yesterday I got an odd egg in the nest area. It was rough and had lots of red/brown speckles on it – I though it might be Daisy’s first egg.
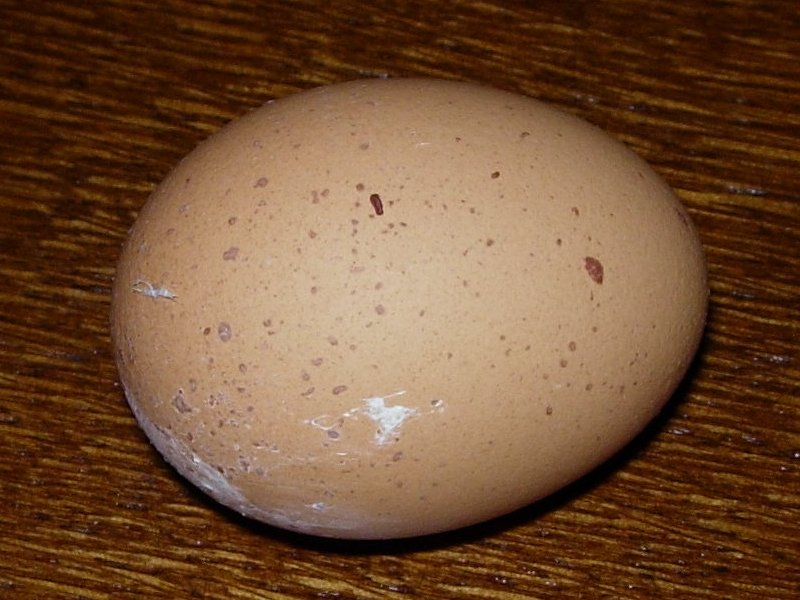
Is this Daisy's first egg?
This morning when I let the chickens out there was already a cracked egg in the run (I wrote about it in my previous post) so when I came back at lunch time to see this I was pleasantly surprised:
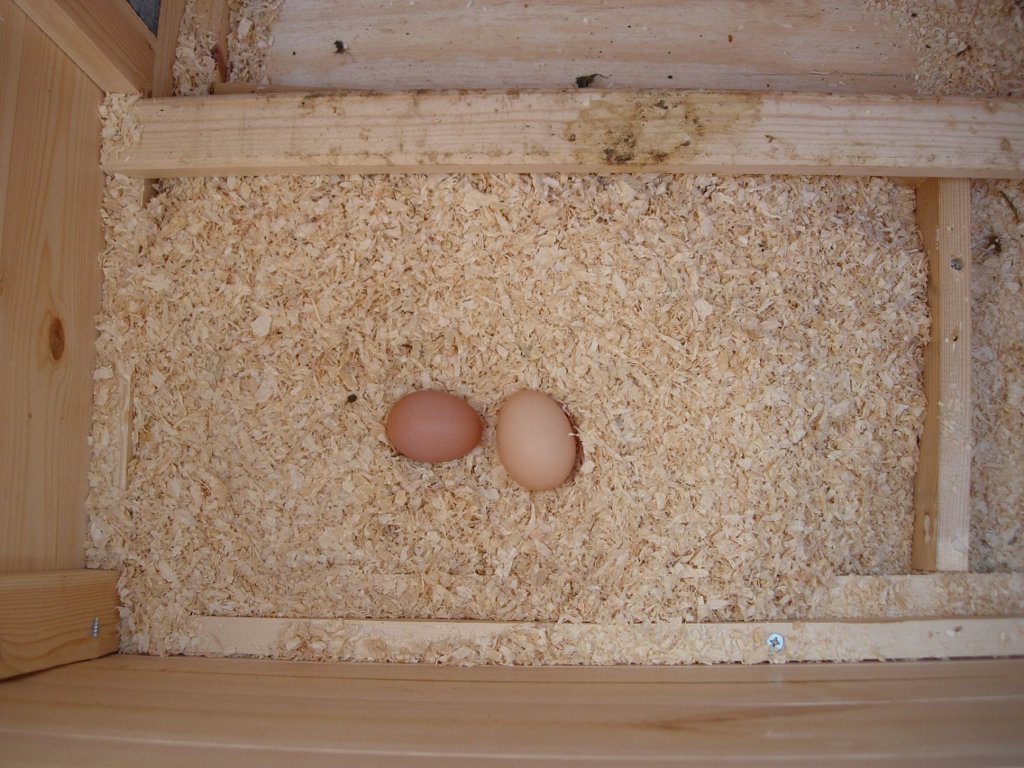
Eggs in the nest area
It looks like the nest is working and the egg on the right it the biggest one I have had so far!
The Bad News
After I cleaned out the chickens today, I was doing a bit of gardening when I heard a flapping of wings. I looked round and Victoria had managed to fly over the netting that I put up yesterday. I chased her around the garden for a bit until I finally managed to catch her and put her back over the other side. As I was putting her over, I leaned on the netting and the string snapped! Well that lasted a long time!
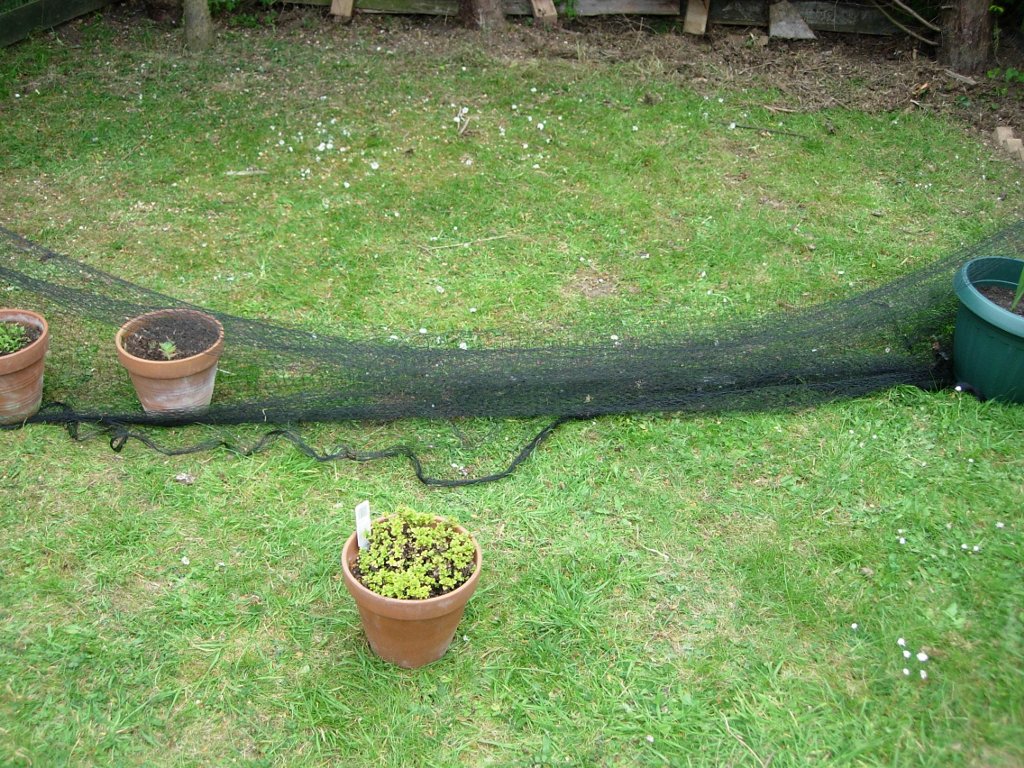
I blame Victoria!
I took down the netting and decided to think out a way to improve it. I decided that the next attempt would need a stronger chord, and would need to be higher off of the ground, so I got out my drill and some bits of wood and this is what I came up with:
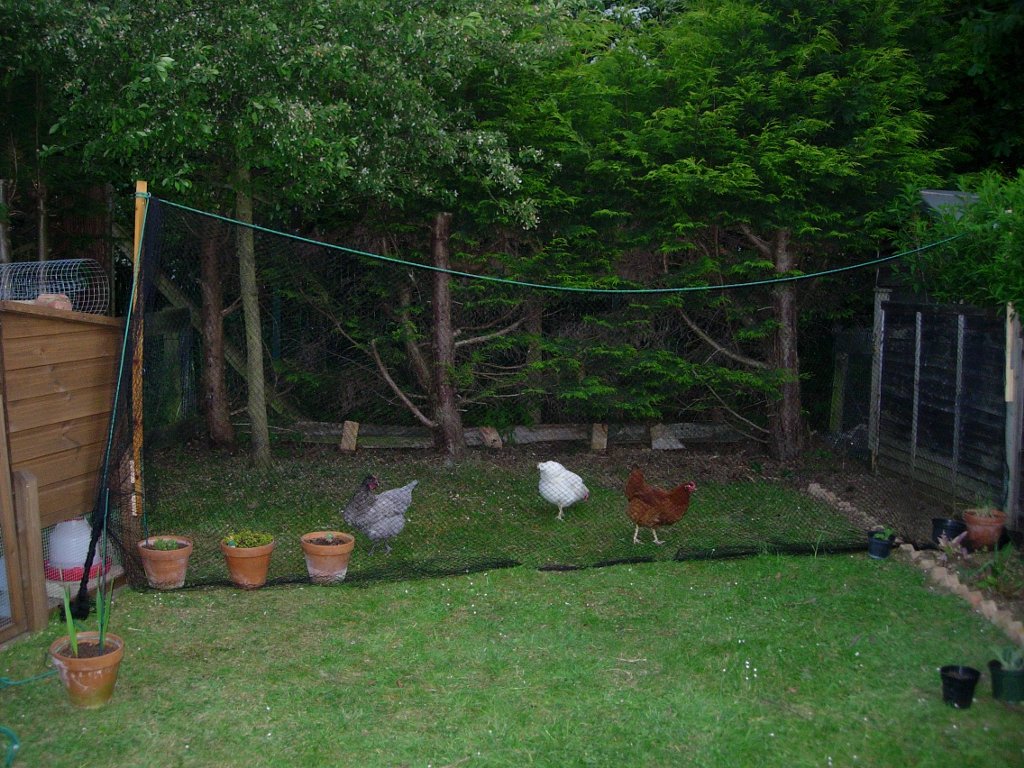
Version 2 of my net fence
This is much better than what I did last time – the rope is a lot stronger and the fence is a bit higher. It looks like the rope is not tight enough but this is as tight as I can get it. The reason that it sags is that the netting is pegged tightly into the ground and is pulling down on the rope. If I tightened it any more I think the wood would snap!
The other advantage to the new setup is that it is easier for me to get in and out. Where the netting attaches onto the coop, I have purposefully left the bottom quite loose – instead of being pegged into the ground it is attached to the coop about 1 foot off of the ground. This means that when I move the flower pots off of the bottom of the net I can just about squeeze under it without having to lay face down in chicken poop.
May 12th, 2009 . Posted in Chickens | 1 Comment »
Tags: cracked, eggs, nest box
When I let the girls out this morning there was another egg on the coop floor with cracks on it. This time Victoria had laid it in the opposite corner of the hen house – I think this is because she laid it before I let the girls out and there wasn’t enough space for her to get to the nest. I am seriously considering buying an automatic pop-hole opener. Either that or I will need to start setting my alarm for 4:30am!
May 11th, 2009 . Posted in Chickens | Comments Off
Tags: eggs, fence, nest box, netting, plants, weldmesh
Well the nest area worked to an extent but they still managed to push it away and make a bald spot.
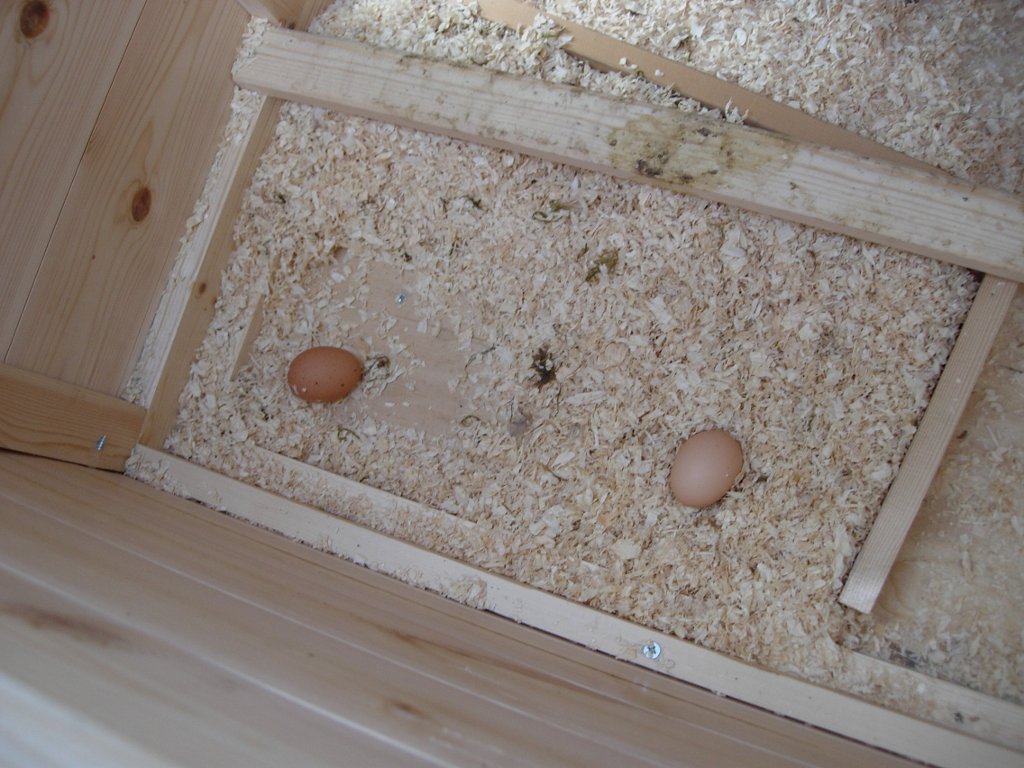
It nearly worked
I did get 2 un-cracked eggs but I wasn’t really happy with it so I decided to stop being lazy and screw the pieces of wood down. Now it looks much better.
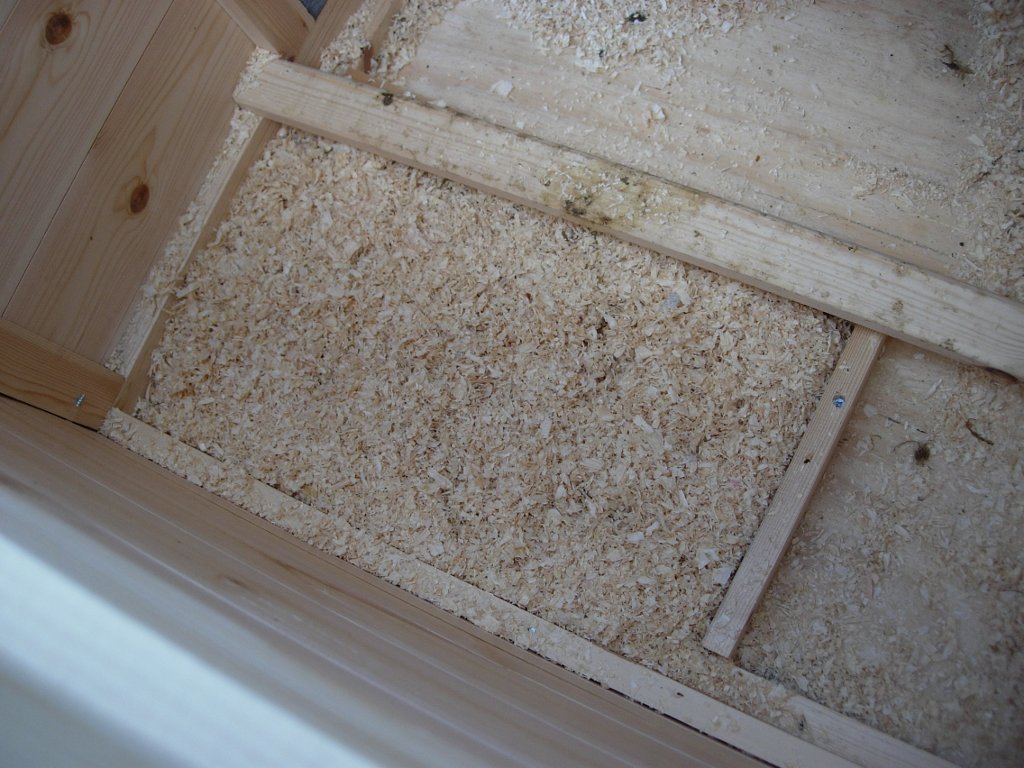
Now it's not going anywhere!
Last week I got fed up of the girls trashing all of my flower beds so I decided to put up some netting. I constructed a frame out of some bamboo canes and some string and put the netting over the top of it. It has worked surprisingly well and the girls have not tried to scratch through it once.
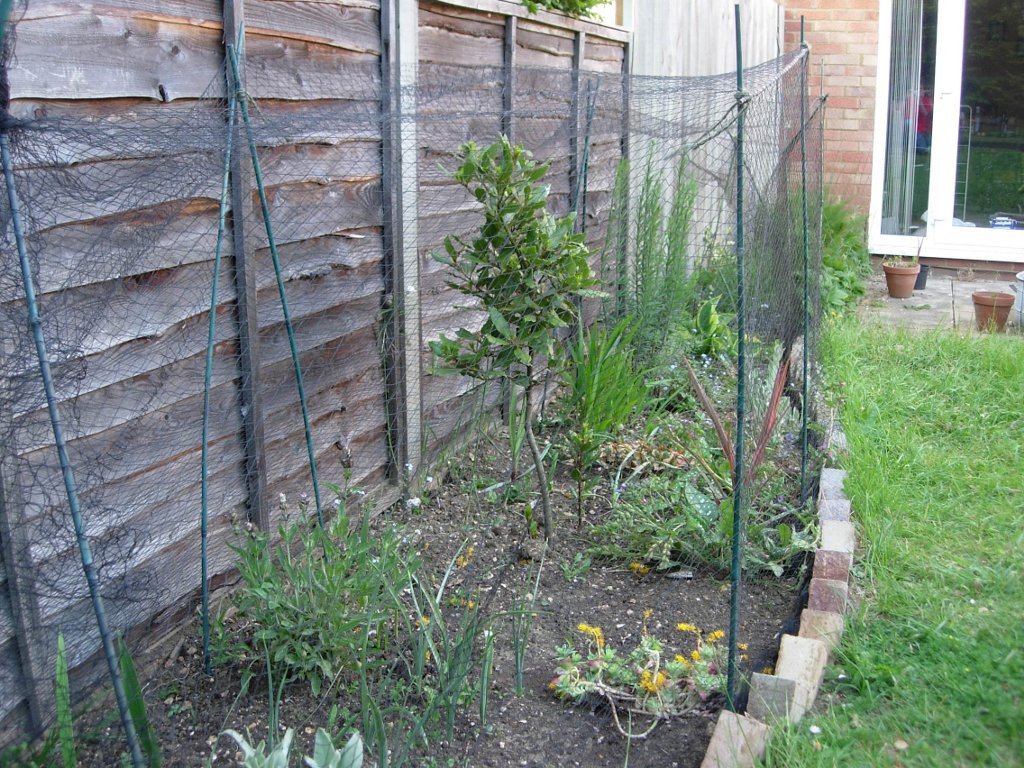
I lashed the bamboo canes together with some string - Ray Mears would be impressed by my efforts.
At the weekend 2 things happened which made me think I need to upgrade my netting. First of all the girls dug up one of my plants that was outside the netting (it looked like pretty tough but now I think it is dead). Then I planted lots of vegetable seeds in various containers and I realised it would be too hard to stop the girls destroying my crops. Since I was in the mood to get stuff done today I decided to use the remaining netting to fence off half of my garden.
I put up some string between the coop and the fence and draped the netting over the top, pegging it down into the grass. This sounds simple but it was extremely windy and I bent a few pegs. I then put some left over weldmesh on top of the coop to hopefully discourage perching on it (and jumping down the other side). I also had to block off the gap down the side of the coop – when you look at the photos bear in mind that this is temporary and pretty much an experiment. If the girls stay in their section I will do something better and make it more permanent.
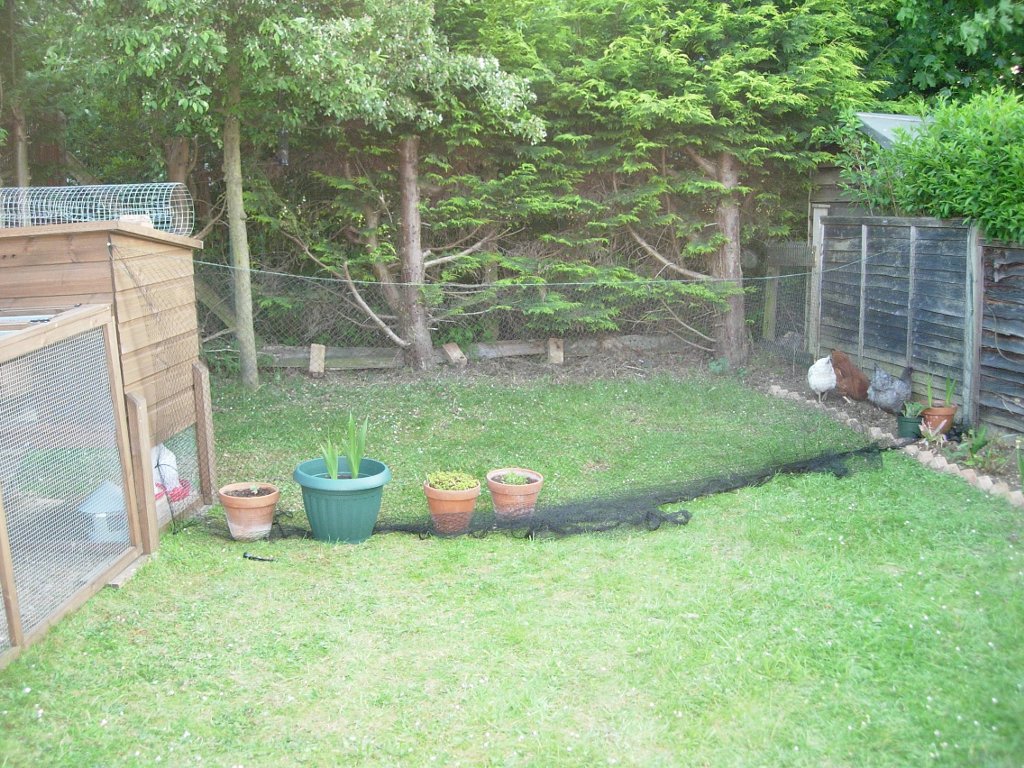
It's not perfect but it seems to be working.
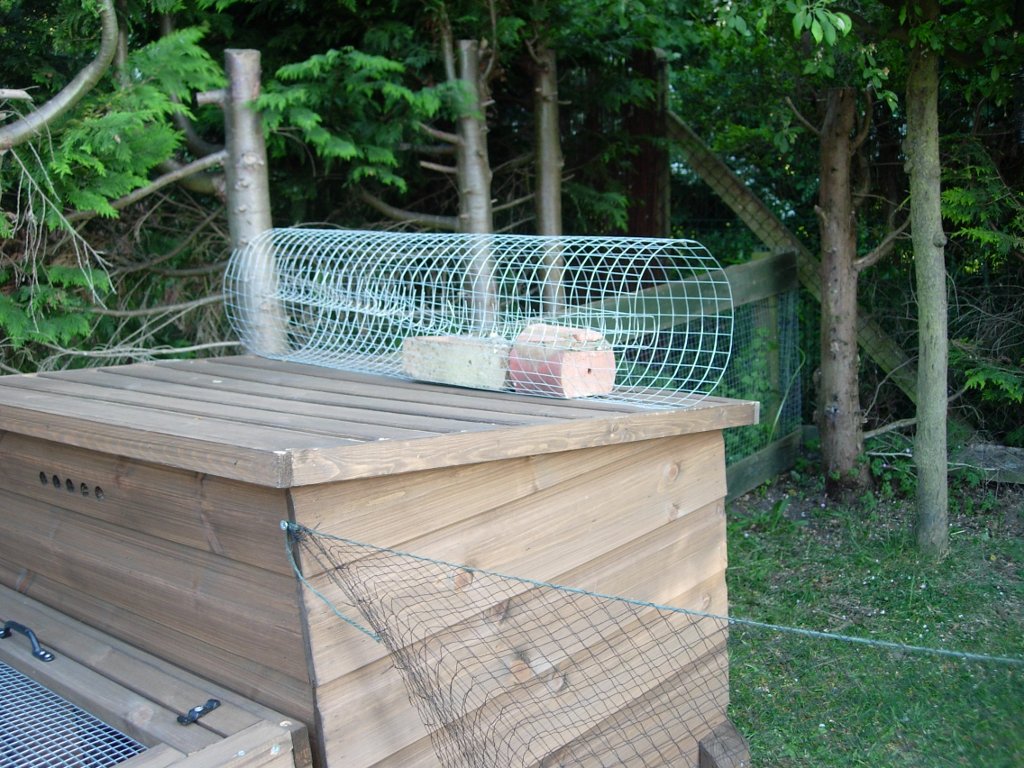
This should hopefully stop them from jumping on the roof
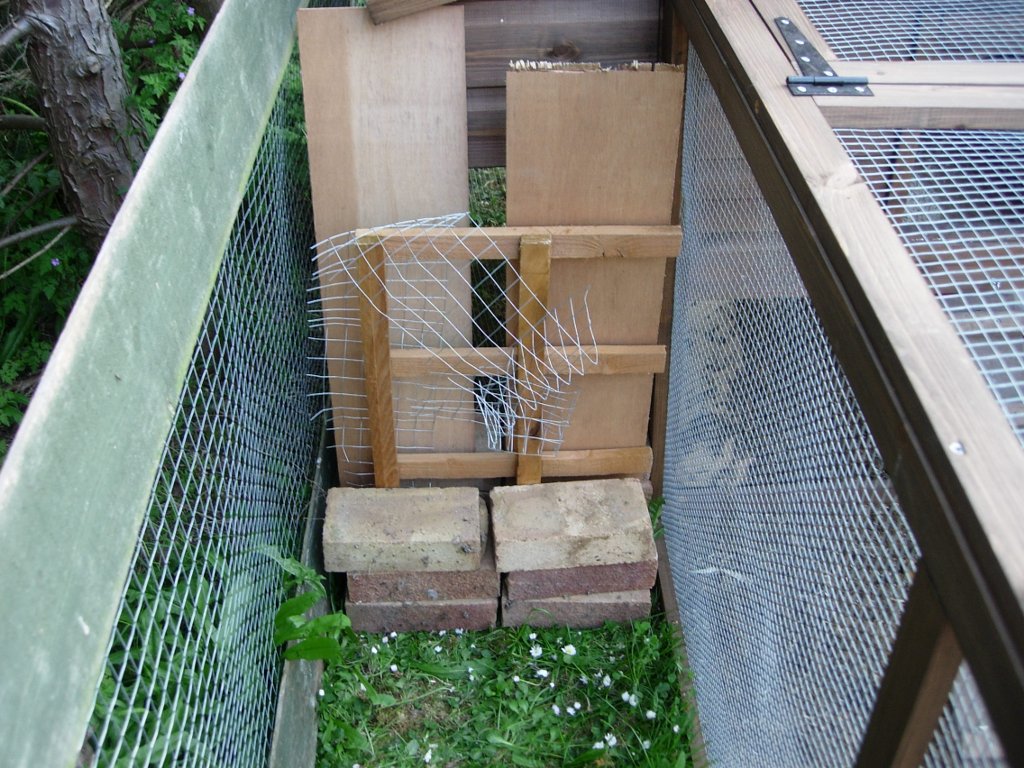
A professional bodge job - the less said about this the better!
The only problem with this setup is that it makes it extremely difficult to get in and out of that part of the garden. Part of the netting is held down with some large flower pots – I have to move these and squeeze underneath the net (it is pulled very tight so I can’t lift it very high) and try not to lay in any chicken poop. If this goes well I will redo it to have a proper gate.
May 10th, 2009 . Posted in Chickens | 2 Comments »
Tags: Chickens, coop, eggs, nest box
As I have said before, I have been getting 2 eggs each day and having to throw one away. My girls like to sleep in the nest box and lay their eggs on the coop floor – it is fine when Meg does it but Victoria obviously hasn’t got the hang of it and seems to drop them from a great height causing them to crack on the hard wooden floor.
I have tried to fix this – first I thought they were laying there instead of the nest box because I had been blocking it off at night. I stopped blocking it off but unfortunately they now sleep in the nest box but refuse to lay there. As that didn’t fix it I decided to put a bit more bedding on the coop floor, but for some reason the girls have kicked it away before laying leaving an nice spot of bare wood to crack their eggs in.
My newest solution has been to make a nest area for them in the spot that they always lay in. I screwed two pieces of wood together into an ‘L’ shape and pushed it against the walls so that it forms a rectangle and will hopefully stop them from spreading the bedding around too much. I will let you know whether it works or not tomorrow!
May 9th, 2009 . Posted in Chickens | 2 Comments »
Tags: eggs
A while ago I posted about what I thought was Daisy’s first egg (which actually turned out to be Victoria’s). Victoria had laid an egg already and I ate it that day. It was disappointing because as well as being very small, the yolk was disproportionately small compared to the white.
Today I finally got around to eating the really tiny second egg and it was really good – even though it was even smaller than the other one it was virtually all yolk and no white!


