July 26th, 2009 . Posted in Chickens | Comments Off
Tags: Chickens, cleaning, coop, mites, nest box, parasites
When I went to clean out the coop this morning I found more mites. These ones were all smaller and bright red (I think that means they are younger than the larger black ones). I took all of the bedding out of the nest box, sprayed the mite spray that I have been using and put down some more newspaper. When I cam back about an hour later there were quite a few dead mites on the newspaper.
I think this is going to be a problem for a long time…
July 25th, 2009 . Posted in Chickens | 2 Comments »
Tags: Chickens, cleaning, coop, mites, nest box, netting, parasites
As I said in my last post, I am intending to move the coop to the back of the garden and swap the netting and run for an electric fence. Although I haven’t got the new fence yet, I have decided to take down the netting, and move the coop and run to a new location ready for the fence. This has allowed me to give the run a good clean and I have applied some mite spray.
The first thing that I did was to move the run away from the coop and to another part of the garden. I pushed the open side of the run up against the fence and put the chickens in there so that they couldn’t escape whilst I removed the net.
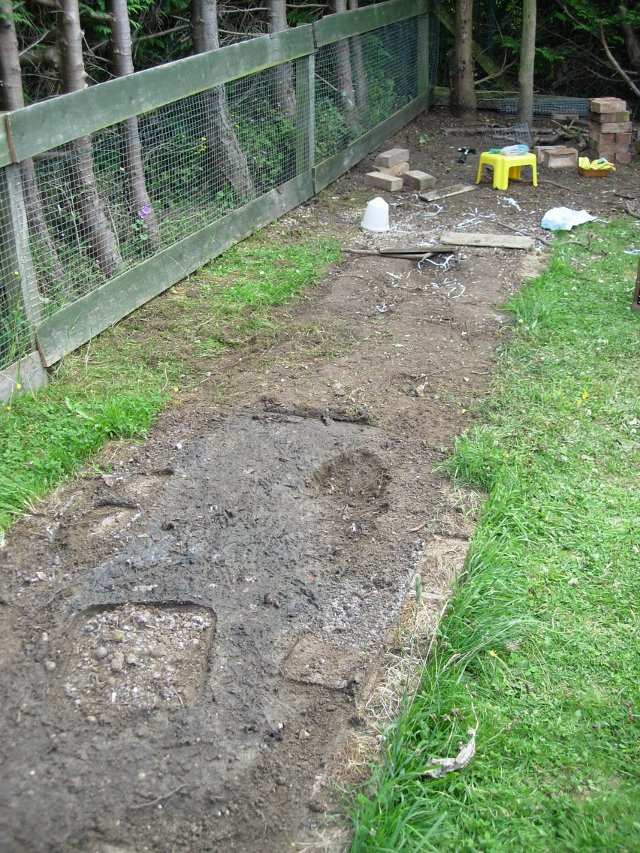
When I removed the run this is what was left behind...

I think the chickens enjoyed the grass when I moved the run
The next step was to remove the netting – I have to admit it was a lot easier to take down than it was to put up!
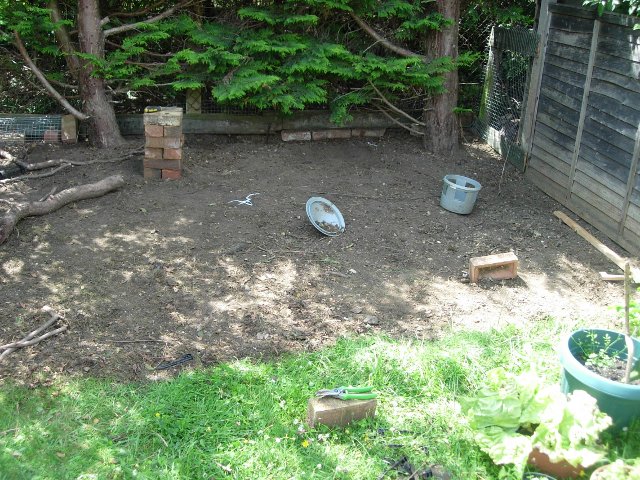
Here you can see what the chickens did to the ground behind the net
With the netting gone, we had access to all sides of the coop so we gave it a big clean out. First we removed all of the bedding, and then scrubbed everything down with hot soapy water. I let the coop dry and then sprayed everything with some mite spray (we used 2 cans of the stuff). I even removed the perches as they were not being used and provided more hiding places for the mites. I have included some pictures to show you the extent of the infestation.
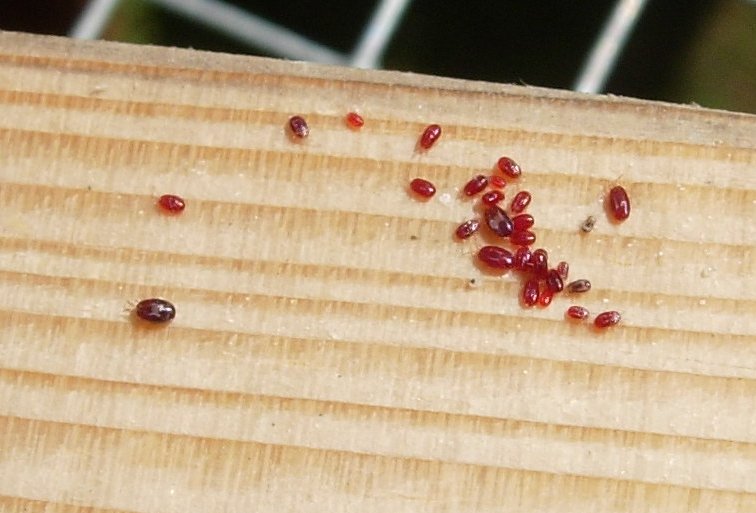
This is the bit of wood I put in for the new nest area
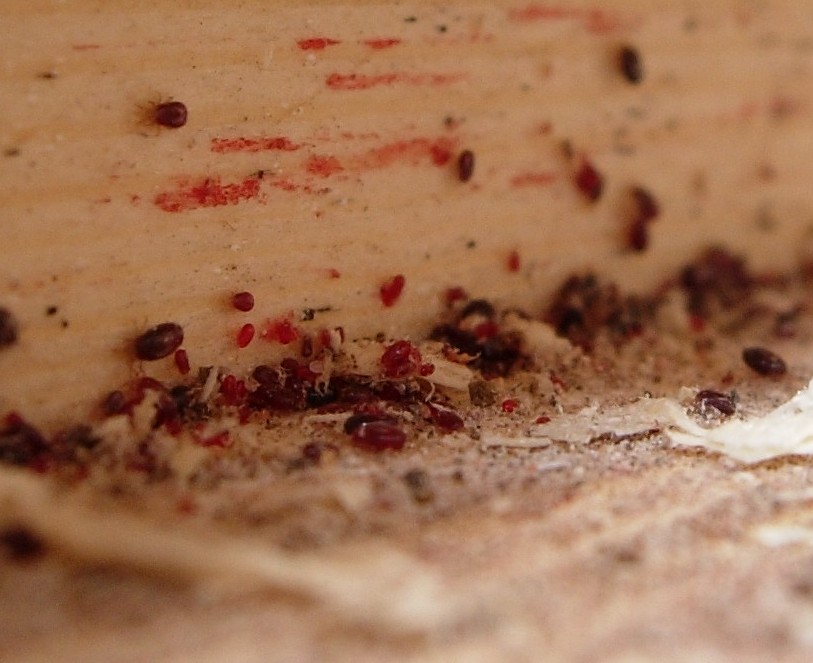
Here is a (nice?) close up of the creatures...
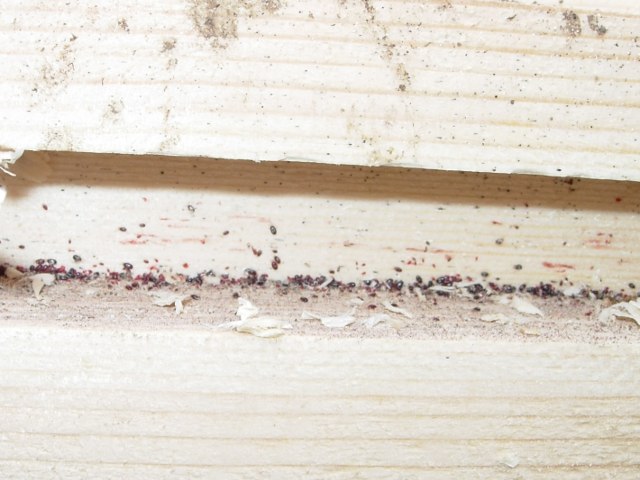
This is the slot that the floor slides into. There were mites all along the back edge.
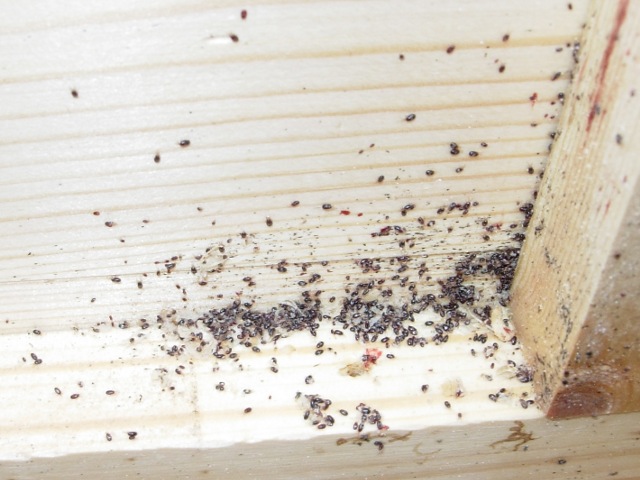
When I removed the percehes, this is what was lurking behind them.
As you can see the mites were everywhere! Once I had finished cleaning out the run I moved it to a new position – ready for the electric fence. I have replaced the wooden nest area with a plastic box. Hopefully this is the last of the mites…

This is the cleanest the coop has ever been!
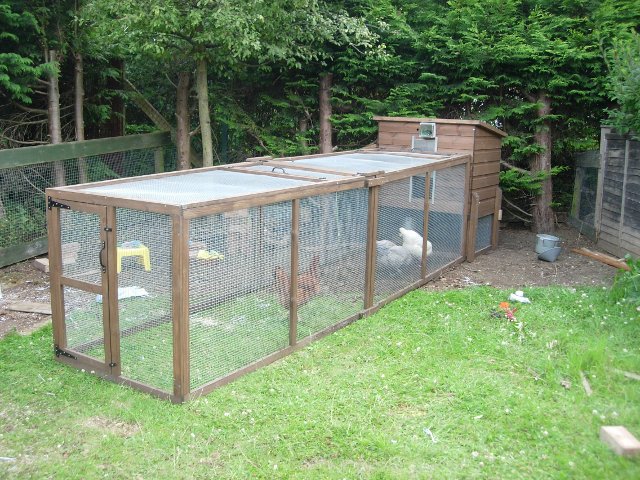
The run in its new position
July 25th, 2009 . Posted in Chickens | 1 Comment »
Tags: Chickens, cleaning, coop, feed, mud, netting, poo
When I got up this morning, Meg was fine and was scratching around as much as the other girls which was a relief.
I have recently realised that my setup is not working very well for me. One reason that I think I have got so heavily infested with mites is that the coop is virtually impossible to clean out in it’s current location – in order to get to the nest box I need to squeeze into a small gap between the coop and the fence, and I only have access to the rest of the coop from one side because of the netting at the back of it and the run at the front. Also, because of the nest area that I screwed into the floor of the coop, I can’t slide the floor out to clean it.
The run itself is also causing me problems: Due to the fact that it is so long and only about a meter high, it is virtually impossible for me to clean it. This means that over the past few months, the land underneath the run has turned into a bit of a swamp. As well as the vast quantities of chicken poop that have built up, I have had a problem with one of my feeders. When I moved the feeder into the middle of the run the weather was dry and it caused no problems. The girls like to empty the feeder onto the floor, but then over then following days will eat the pellets up so nothing is wasted. Since the weather has been so wet, all of the pellets on the floor have been turning to mush and being scratched into the floor and creating a disgusting smell. This means that the floor of the run has turned into a mixture of chicken poo and fermenting layers pellets and the smell is awful! They were also getting through twice as much food as usual so I have had to move the feeder back under the coop.
The final thing that I hadn’t really considered in my setup was convenience. Due to the fact that I have to move a load of flower pots, and squeeze under the netting to get to the back of the coop, changing the girls’ food has been a nightmare.
To fix all of these problems I have decided to have a bit of a move around in the garden. I am going to move the coop to the area behind the netting, remove the netting and the run and put up an electric fence. This will allow me to enter the chickens’ area and keep it clean, and will allow access to all sides of the coop for cleaning. This should hopefully solve most of my problems…
July 22nd, 2009 . Posted in Chickens | 2 Comments »
Tags: Chickens, cleaning, coop, mites, nest box, parasites, poo
Today I was cleaning out the chickens, when I noticed a small pile of black poo in the corner of the nest box that the chickens sleep in. I went to pick it up when I noticed it was moving! At first I thought that ants had somehow got into the coop, but on closer inspection it was a pile of thousands of tiny mites.
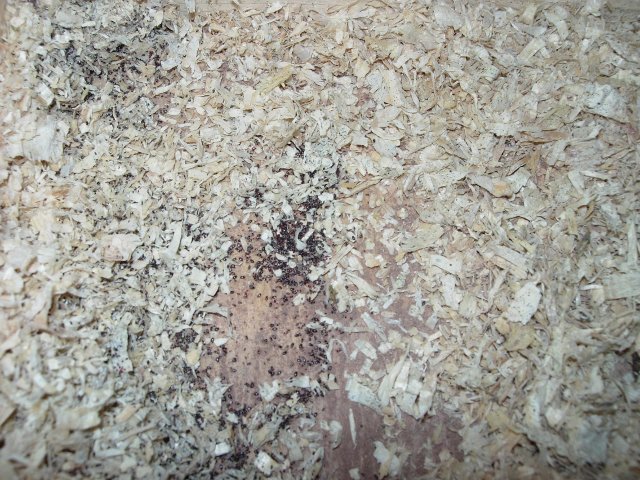
At first I thought this was chicken poop...
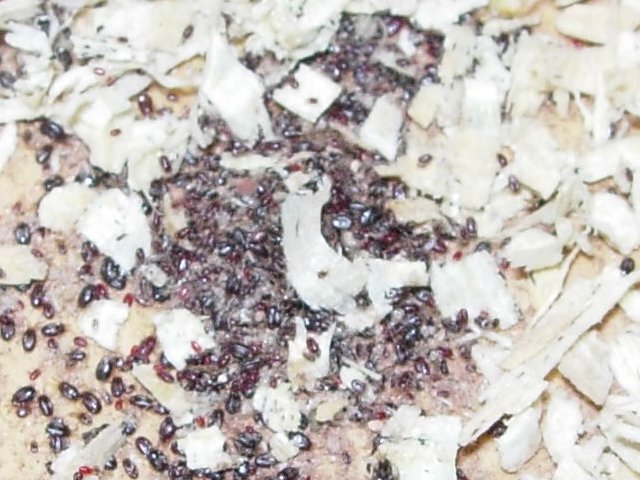
...but chicken poop doesn't move!
I’m not 100% sure what these are but I think they might be the dreaded red mite. Even though most of the mites were black, when I wiped them off the dust pan and brush it left streaks of red blood over it so I think they have been feeding on the girls. This might be why they keep making such a racket every morning!
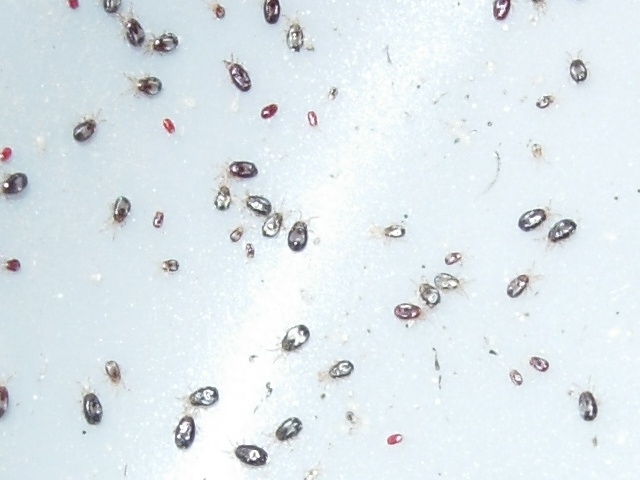
A close up of the parasites
I didn’t have time to completely clean the coop today, but I spent a good hour and a half removing all of the bedding from the floor. Most of the mites were in the nest box, so after I had cleaned it out I spread a lot of stalosan f over the floor (it is a powdered disinfectant) and blocked the nest box off so that the girls can’t sleep in there. I also removed the bedding from the rest of the coop apart from the area where the girls lay (there didn’t seem to be any mites in there).
I think this weekend will be time to give the coop a good clean out – I intend to go to my local pet shop and buy some mite powder. I will then give the coop a good clean out and replace all of the bedding, and give it a good sprinkling of mite powder.
I feel really bad for the girls – there were so many mites and they must have been driving the girls nuts! When the girls went in to sleep tonight I lifted the lid of the coop slightly to see what they would do. When they first went in, they had a good look at the wood blocking off the nest box. Then they went up to it and started pecking at it – trying to find away into the section that they normally sleep in. It was really horrible to watch – they clearly wanted to go sleep in their usual spot but I think it is best to keep them out of there for a few days.
June 15th, 2009 . Posted in Chickens | Comments Off
Tags: cleaning, cracked, eggs, soft-shelled
Yesterday, when I opened the coop up to clean this is what I saw:
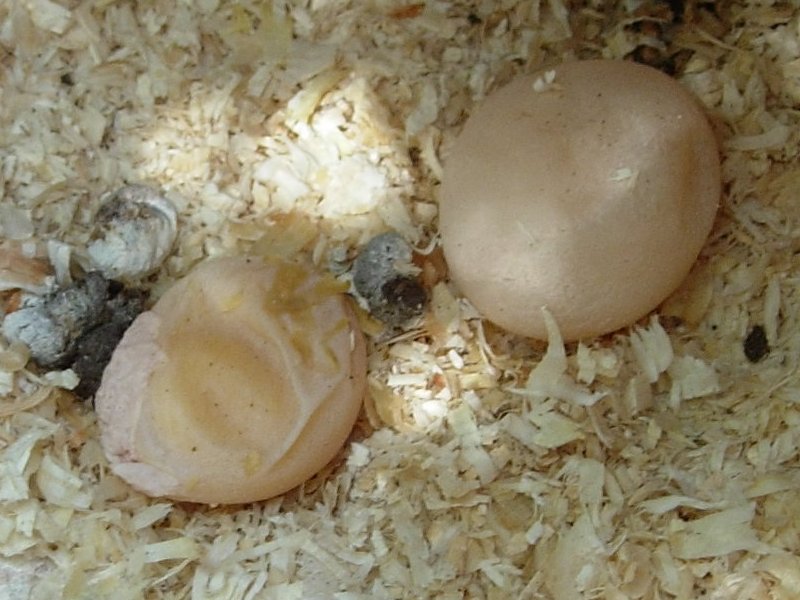
Soft Shelled Eggs
I had a few soft shelled eggs when the girls first started laying but I thought that was the end of it. Today when I managed to drag myself out of bed my girlfriend told me that there was an egg in the run. I managed to get it out of the run without letting the birds escape but it was already cracked. Then when I got home from work today there was only 1 egg in the nest box and that was cracked too! Today wasn’t a good day for eggs!
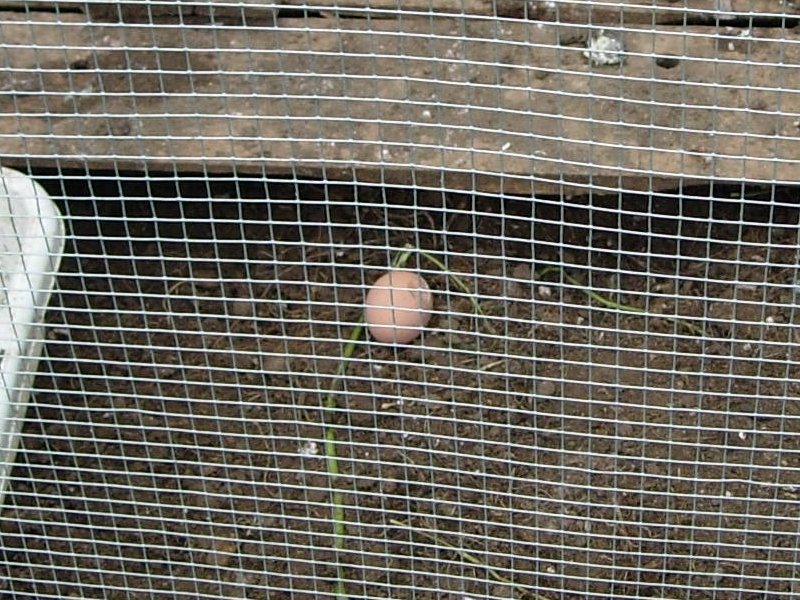
I have no idea why this egg was laid here...
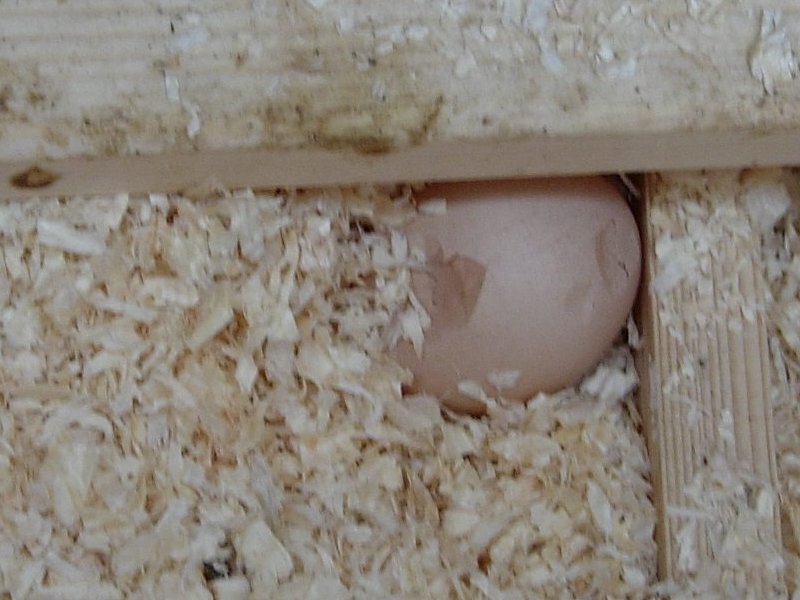
This egg was laid in the right place but had a thin shell and was cracked
I am wondering if they have a calcium deficiency – I put some grit with oyster shell down in the run so hopefully that will do the trick. I’m not convinced though as they have had access to grit since I first got them.


